
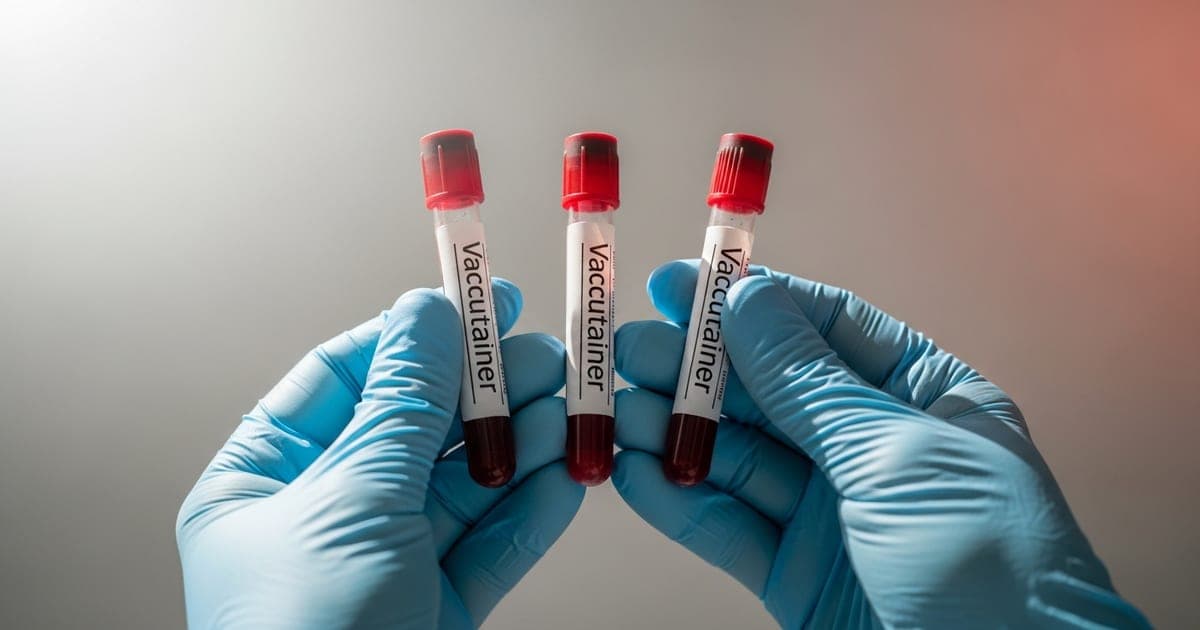
Venipuncture is the procedure of puncturing a vein with a needle to collect blood for laboratory testing. It is the most common clinical procedure in medicine — performed billions of times per year worldwide. It accounts for the vast majority of all diagnostic laboratory data. Understanding venipuncture helps patients know what to expect and reduces anxiety before a draw.
Venipuncture definition
The word comes from the Latin vena (vein) and punctura (puncture). Clinically, venipuncture refers to accessing a peripheral vein — most often at the antecubital fossa (the inside of the elbow) — using a sterile needle to withdraw blood into collection tubes. It is distinct from arterial puncture (used for arterial blood gases), fingerstick (capillary sampling), and central line placement.
In outpatient settings, venipuncture is performed exclusively for blood collection. In hospital settings, the same technique establishes IV lines. This article focuses on diagnostic venipuncture — the draw you receive at a lab or from a phlebotomist.
Why venipuncture matters
Approximately 70% of all medical decisions involve laboratory test results, and most of those tests require a venous blood sample. Common tests that require venipuncture include:
- Complete blood count (CBC)
- Comprehensive metabolic panel (CMP) — liver, kidney, electrolytes, glucose
- Lipid panel (cholesterol, triglycerides)
- Thyroid panel (TSH, T3, T4)
- Hormone panels (testosterone, estradiol, FSH)
- Tumor markers and specialty oncology panels
- Infectious disease testing (HIV, hepatitis, STI panels)
- Coagulation studies (PT/INR, PTT)
- Blood bank and type & screen
Equipment used in venipuncture
| Equipment | Purpose |
|---|---|
| Evacuated collection tubes (Vacutainer-style) | Pre-measured vacuum draws the correct blood volume into the tube; color-coded by additive |
| Multi-sample needle (21- or 22-gauge) | Dual-ended; one end enters the vein, the other pierces the tube stopper |
| Needle holder / tube adapter | Holds the needle and guides tube insertion |
| Tourniquet | Applied 3–4 inches above the site to distend the vein |
| Alcohol prep pad (70% isopropyl) | Disinfects the puncture site; allowed to air-dry before needle entry |
| Gauze and adhesive bandage | Pressure and wound coverage post-draw |
| Sharps container | Immediate needle disposal to prevent needlestick injury |
| Labels and requisition | Pre-printed patient ID labels applied to tubes at the bedside |
Tube color codes and what they mean
Each tube stopper color indicates the additive inside, which determines which tests can be run on that sample:
| Color | Additive | Common Tests |
|---|---|---|
| Gold / SST (speckled red-gold) | Clot activator + gel separator | Comprehensive metabolic panel, liver panel, lipids, hormones, most chemistries |
| Lavender / EDTA | EDTA (anticoagulant) | CBC, HbA1c, blood type |
| Light blue | Sodium citrate | Coagulation studies (PT, PTT, INR) |
| Green | Lithium heparin | Stat chemistries, ammonia, chromosomal analysis |
| Red (plain) | None | Blood bank, serology, some drug levels |
| Gray | Sodium fluoride / potassium oxalate | Fasting glucose, lactic acid |
| Yellow | ACD solution | Blood cultures, DNA studies |
Order of draw
When multiple tubes are collected in one draw, they must be filled in a specific sequence to prevent additive carry-over contamination. The standard order of draw (per CLSI guidelines) is:
- Blood culture bottles (sterile specimens first)
- Light blue (citrate)
- Gold / SST or red (serum)
- Green (heparin)
- Lavender / EDTA
- Gray (fluoride)
Step-by-step venipuncture procedure
- Patient identification — verify two identifiers (name + date of birth) and match to the lab requisition
- Patient positioning — seated with arm extended and supported; high-risk patients may be reclined to prevent fainting
- Vein selection — palpate the antecubital fossa; the median cubital vein is preferred (most accessible, least movement)
- Tourniquet application — 3–4 inches above the site; patient makes a fist to engorge the vein; tourniquet released within 60 seconds to prevent hemoconcentration
- Site preparation — 70% isopropyl alcohol applied in a circular motion; air-dry for 30–60 seconds before needle entry
- Needle insertion — bevel up, 15–30° angle, enter the vein with a smooth single motion; watch for flashback (blood entering the hub)
- Tube collection — push tubes onto the needle in order of draw; each fills automatically by vacuum
- Tourniquet release — before the last tube fills
- Needle removal — activate safety mechanism, apply gauze with firm pressure
- Tube mixing — invert anticoagulated tubes 3–8× immediately; do not shake
- Labeling — apply pre-printed patient ID labels at bedside before leaving the patient
- Wound care — confirm bleeding has stopped, apply bandage; instruct patient to keep it on for 15–30 minutes
Common venipuncture sites
The antecubital fossa contains three main veins used in order of preference:
- Median cubital vein — first choice; large, stable, less painful, well-anchored
- Cephalic vein — second choice; runs along the lateral forearm; can roll
- Basilic vein — last resort at the antecubital fossa; near the brachial artery and median nerve; higher complication risk
Alternative sites include forearm veins, dorsal hand veins, and wrist veins. Foot and ankle veins are avoided in most circumstances due to clotting risk.
Possible complications and how they are managed
| Complication | Cause | Management |
|---|---|---|
| Hematoma (bruising) | Blood leaking into tissue — often from movement or insufficient pressure post-draw | Apply firm pressure for 2–5 minutes; elevate arm; cold pack |
| Vasovagal syncope (fainting) | Anxiety or pain triggers nerve reflex; blood pressure drops | Recline patient, elevate legs, cool compress; AMT technique prevents most episodes |
| Hemoconcentration | Tourniquet left on >60 seconds | Prevented by timely release; some analytes may be falsely elevated |
| Hemolysis | Red cells rupture — from too-small needle, vigorous mixing, drawing through a hematoma | Sample rejected; redraw required |
| Petechiae | Capillary rupture under tourniquet in fragile-skin patients | No treatment needed; resolves in days |
| Nerve injury | Rare; needle placed too medially (basilic vein area) | Remove needle immediately; persistent pain or tingling warrants evaluation |
What makes a good venipuncture experience
- Hydration — drinking 16–24 oz of water 30–60 minutes before your draw significantly engorges peripheral veins and reduces the number of attempts needed
- Warmth — cold causes vasoconstriction; a warm room or a warm pack on the arm for 5 minutes before the draw makes veins more accessible
- Phlebotomist skill — experienced phlebotomists identify the vein by feel, not just sight, and anchor it to prevent rolling
- Positioning — a fully supported, slightly extended arm in a stable chair is better than standing or sitting on an exam table
- Communication — tell your phlebotomist about difficult veins, previous bad experiences, or a fainting history so they can adjust their approach
Venipuncture at home
For patients who prefer not to travel to a lab, a certified phlebotomist from Speedy Sticks performs venipuncture at your home, office, or facility. The technique, equipment, and chain-of-custody handling are identical to a patient service center — only the setting changes. Book a home venipuncture here.
This content is for informational purposes only and is not a substitute for professional medical advice.
Sources and further reading
Expert Venipuncture at Your Home
Speedy Sticks phlebotomists are trained in standard venipuncture technique — correct gauge, order of draw, tube labeling, and chain-of-custody handling, all at your door.
Book a visit →